

Alpine skiing technique - improving the carving turn
The ski season is finally upon us and our slopes will soon be filled with excited skiers. So we thought we'd share some helpful tips on how you can improve your carving turn and dominate the piste this winter!
Stylish carving turns in five steps
Who doesn't want to whizz down a freshly groomed slope and make the perfect slalom turn? You know, one of those long, cutting turns at high speed that you've seen the pros do on the telly. A real carving turn with top speed and control!

Here are five steps to guide you to the masterful carving turn:
Step 1: Choose the right slope
Choosing a slope where you feel comfortable is of the utmost importance when learning to make a proper carving turn. One tip is to choose a descent where you can control your speed both up and down.


Step 2: Find the feeling
The basis of an effective carving turn is a firm edge grip. Something that can initially feel uncomfortable for the untrained. A good tip is therefore to try to find the feeling by rolling from edge to edge on the rack. Get used to how it feels and how to perform the movement at high speed.
Step 3: Try it with speed
Once you've found the feel and got used to how it feels to put the edge on the hill, it's time to try it all out with speed. Start with a little less speed, a little straighter turns and a little less edge.
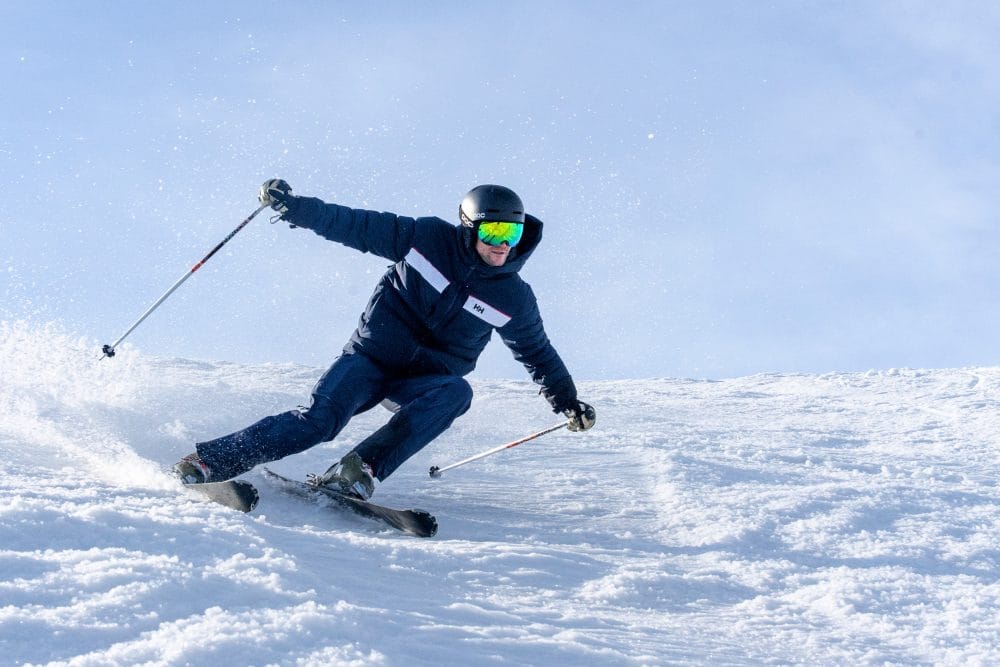
Tilt the skis from the bottom and try to brace your feet sideways. Lean your upper body towards the slope. Face away from the skis.

Step 4: Speed up
The more turns you make, the more comfortable you will become with the movement. You will slowly but surely find that you gain more control over both the turn and the speed. As you become more comfortable, you can also increase your speed.
Step 5: Fine-tune the technique
Once you have enough speed and control, it's time to hone your technique. Utilise your body weight and 'throw' yourself into the turn to generate maximum power and edge grip. Also remember to bend your knees to increase lateral mobility.

There you have it - five steps to the perfect carving turn. Want help perfecting your carving during your stay with us at Stöten in Sälen? No problem - book onto our popular ski school. See you on the slopes!
Similar articles

Tasty snacks for the slopes
To last a whole day on the slopes, it's important to top up your energy reserves. So we thought we'd share a handful of tasty snacks that are great for long days on the slopes!

Ski camp in Stöten
Want to take your ski team's skills to new heights? We have everything you need for a developing ski camp - both for slalom and cross-country skiers! We thought we'd take this opportunity to tell you more about what a ski camp with us entails!

Common beginner mistakes on skis
Skiing is a great sport that can bring you lots of joy and excitement. However, as a beginner, it can be difficult to avoid the most common mistakes that can occur on the piste. In this article, we will identify and give advice on how to avoid these beginner mistakes on skis.

Optimise your alpine skiing technique
Do you want to reach your full potential on the slopes? Then it's time for you to develop your alpine skiing technique! We'll tell you how to go about it and what you should keep in mind in this article.